

Can I Fix Windows 11 Services Not Opening? With Services, you can manage the different services your computer is running. With your PC’s Services app, you can set up and turn off services. But what if you can’t open the Windows Services app? Users recently said the Services app would only open on a few Windows 11 computers.
If this happens, you won’t be able to change the Windows services that are already running. So what do we do to fix it? You’ve arrived at the ideal location if you’re searching for troubleshooting steps to fix Services not opening in Windows 11. How can we fix this issue?
Fix Services not Opening in Windows 11
Several things can lead to this issue. Observe the steps in this article to fix your problem, no matter what caused it.
1. Try Opening Services Through Run Dialog or Command Prompt
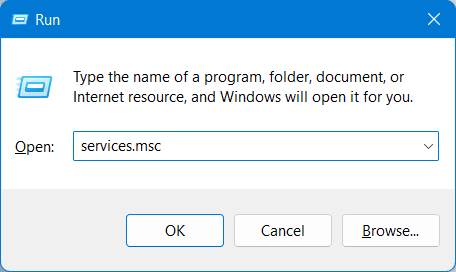
If you can’t open Services normally, try opening it through the Run dialog box or the Command Prompt. Follow the steps below to use the Run dialog box to open Services:
- Hold down the Windows and R keys and type Services. msc. Click OK to open the Services window.

Track the steps listed below to open Services using Command Prompt:
- Press the Windows key, search for Command Prompt, and open it.

- Here, type the command Services.msc and press Enter.

2. Set Correct Default App for MSC Files
If the wrong app is set as the default for MSC files on Windows 11, the Services app might not open. You must set the right default app for MSC files to fix the issue.
- Here, press the Windows key and click the Settings button.
- Under the Apps tab, click on the Default Apps option.
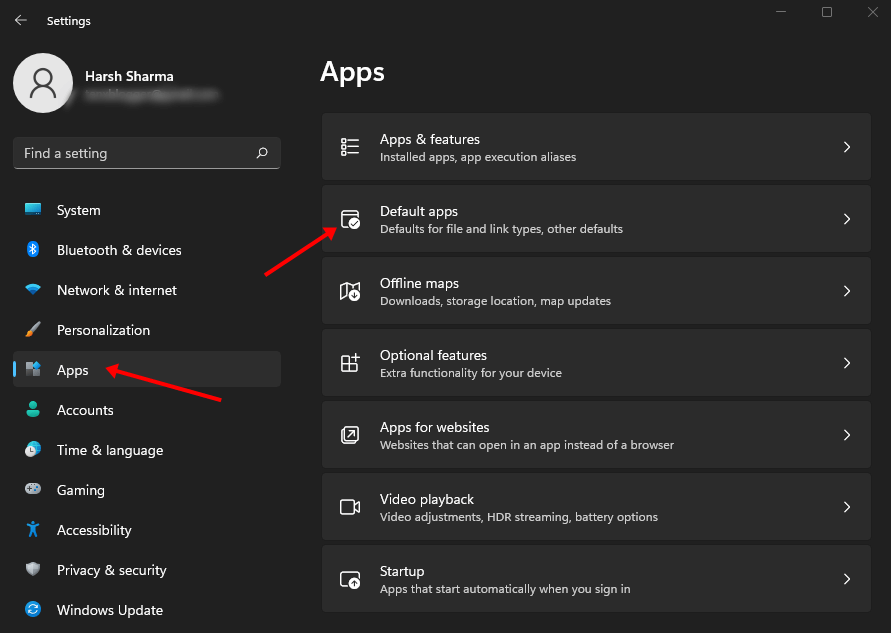
- Type .msc in the search box and click on the first option.
- Select Microsoft Management Console and click the Set Default button to set it as the default app for MSC files.

3. Fix Corrupted Files
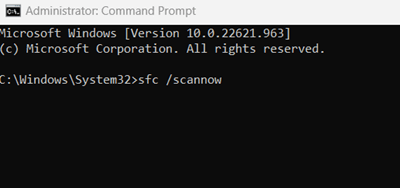
This issue could be caused by files that don’t work right. If Services won’t open in Windows 11, look for damaged system files and fix them. By running SFC and DISM scans, you can fix broken files. Here are the steps you must take to run the SFC scan:
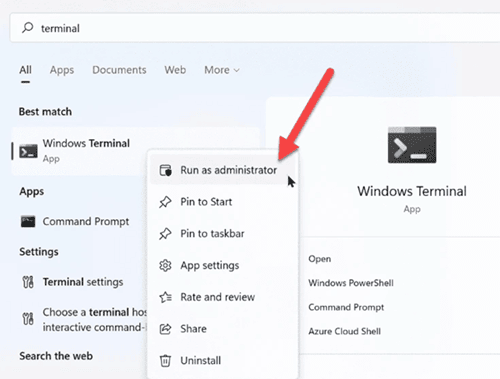
- Click “Start” and type “CMD.” When you right-click on Command Prompt and choose “Run as administrator,” click on “Yes.” Please type in the following code, sfc /scannowsfc scan, and run it here. scan sfc
- Wait for the scan to reach 100%, and then restart your PC.

If the SFC scan didn’t fix the issue, you can run a DISM check by following the steps below:
- Firstly, run Command Prompt as administrator.
- Now, type and execute the following commands one by one-
-
DISM /Online /Cleanup-Image /CheckHealth -
DISM /Online /Cleanup-Image /ScanHealth -
DISM /Online /Cleanup-Image /RestoreHealth
-
- After executing the above commands, restart your PC.
4. Run System Maintenance Troubleshooter
Also You can try running the System Maintenance Troubleshooter. Here are the steps you need to take:
- You can open the Run text box by pressing the Windows and R keys together.
- Here, style msdt.exe -id MaintenanceDiagnostic and press Enter.
- This will open up the troubleshooter window for System Maintenance. Track the on-screen instructions to run the troubleshooter.
- When you’re done, try opening the Services app.
5. Re-Register DLL Files
If the issue still appears, try re-registering the DLL files. If you follow the steps below, you can use the PowerShell window to re-register DLL files:
- Press Windows + X key combo and then click on Windows Terminal (Admin).
- Now, type and execute the following commands one by one-
-
regsvr32 msxml.dll -
regsvr32 msxml2.dll -
regsvr32 msxml3.dll
-
- Now, close the Terminal window and restart your PC.

6. Clean Boot your PC
This issue could be caused by an outside app that messes with your PC. Then, you can go back to the start and figure out where the problem started. Here are the steps to start your computer cleanly:
- Unplug the Start menu, search for “System Configuration,” and then open it.
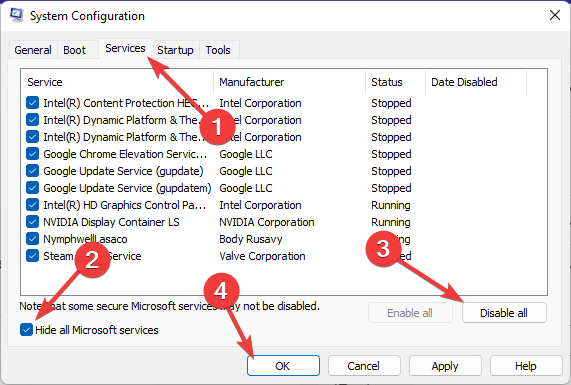
- Head to the Services tab, check the checkbox saying Hide all Microsoft Services and then click on Disable All button.
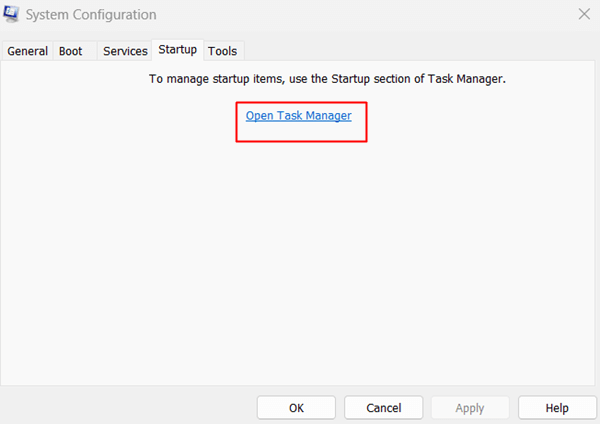
- Now under the Startup tab, click on the Open Task Manager option.
- Select the startup app and then click Disable to disable it. Do this for all the startup apps here.
- Once you’re done, please restart your computer to clean and start it up. You can now check to see which program is causing the issue and eliminate it.


Final Words
If you can’t use the Services app on your PC, this article will show you how to fix a common Windows issue. We’ve compiled a list of troubleshooting steps to help fix the problem of Services not opening in Windows 11. This is the end of our help on how to fix this issue. We hope you found the answer in this article.