

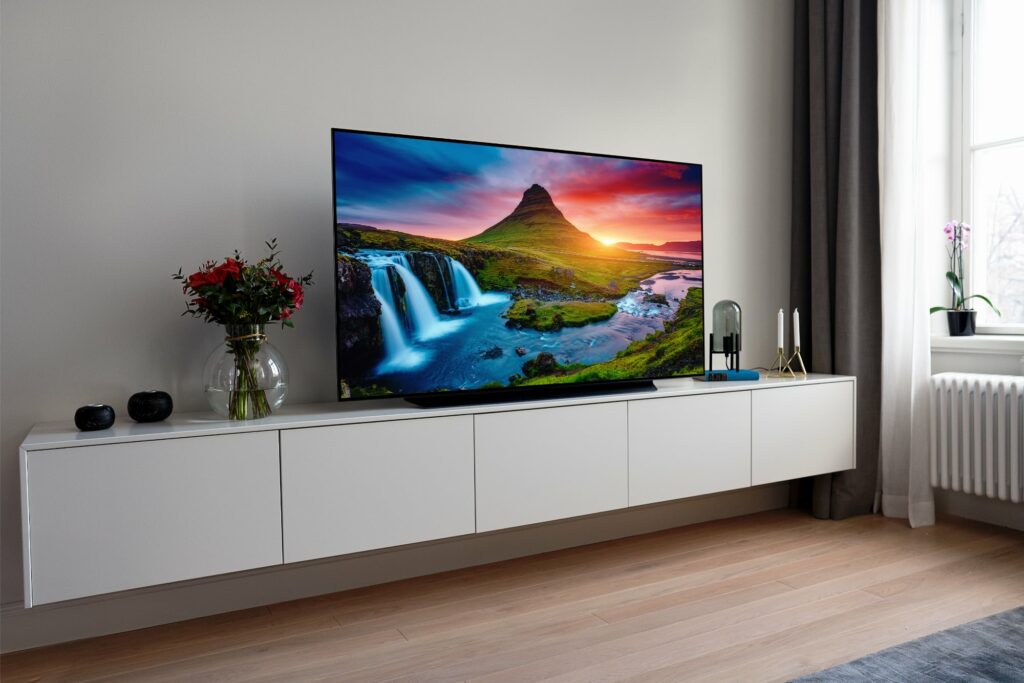
You don’t have to spend a lot of money to improve the picture on your TV. For a simple calibration, you’ll only need our instructions and a $30 disc. By TV Calibration, you may receive a much better image.
Professional TV calibration takes a long time and costs a lot of money, but you can improve the look of your TV for less than $30 by buying a test disc and fiddling with the settings for half an hour. The Spears & Munsil disc, which was suggested by ISF founder and president Joel Silver, is a highly important tool for anybody wishing to TV Calibration or simply understand more about how video signals work.
It comes with a lot of instructions, both on the CD and in the booklet that comes with it, but many of them are superfluous and can be ignored unless you’re a pro who is already knowledgeable about TV calibration. Before I begin, I’d want to point out that the majority of the TVs I’ve examined over the last two years have great standard dynamic range (SDR) colour accuracy out of the box, with many of them matching broadcast standards when using the appropriate image setting.
They’re also highly precise when showing a high dynamic range (HDR) signal, and they have excellent contrast performance in both scenarios. To get the best viewing experience possible for your TV without going through a more complicated TV Calibration process, follow our guide on how to set the best picture settings for your TV.
How to Calibrate Your TV Easily In 2022
Read on if you’re curious about how TV calibration works or want to fine-tune your image at a more granular level.
1. Determine the best picture mode
Starting in the right image mode will yield the best results. This is the general mode that controls many of your television’s specific visual settings and typically allows you to make TV calibration adjustments at a higher level. Your television should ideally have an ISF picture mode, which implies it has a full range of calibration options (you won’t need to touch most of them; that’s for pros). If not, seek out a cinema or theatre option and begin there. Look for customs if they aren’t accessible. Avoid using the “Vivid,” “Game, or “Sports” modes.
2. Use the Warmest Color Temperature Setting
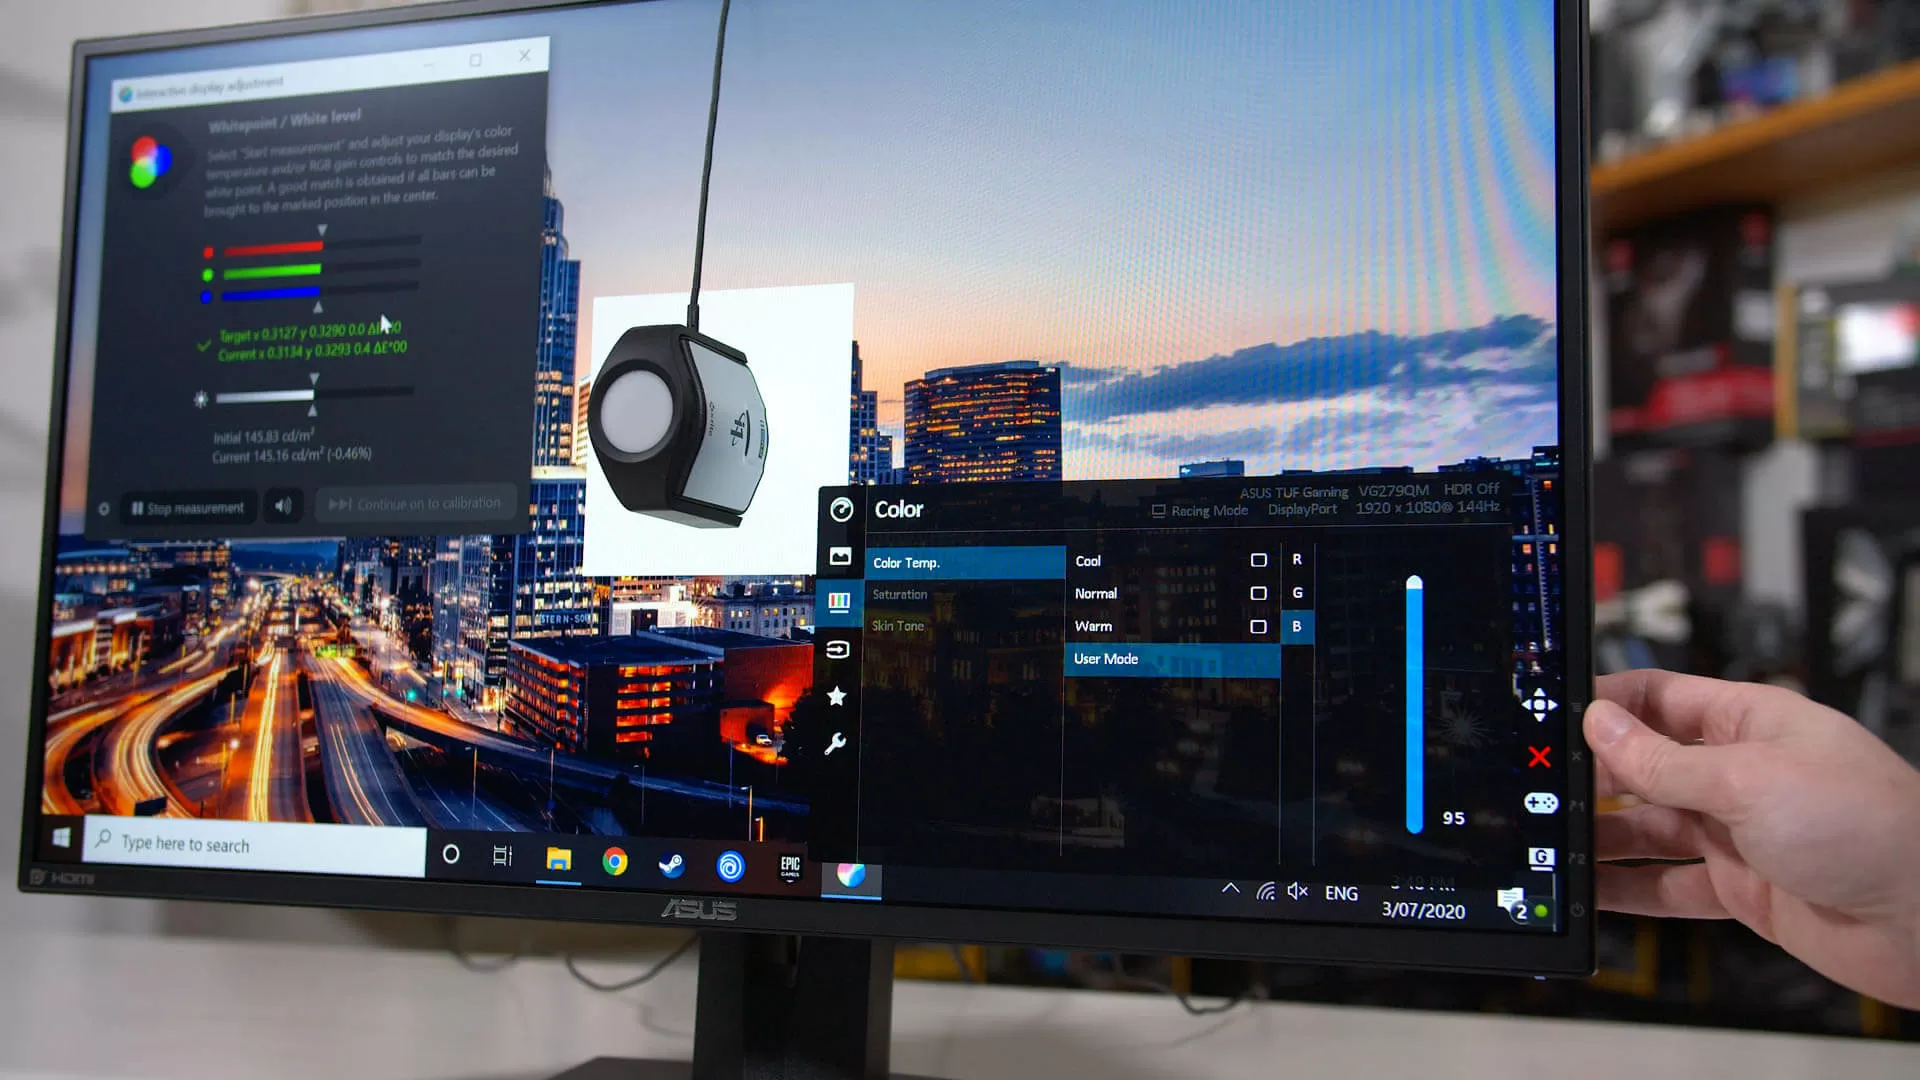
Look for the Color Temperature setting and make sure it’s set to Warm once you’ve found a mode that sounds appropriate. This combines with the image mode to give reasonably realistic colors across the board on most current TVs. A comprehensive white balance/RGBCMY calibration may achieve pinpoint precision for colour levels, but it requires a calibration specialist with specialized equipment. The warmer colour temperature preset will suffice for the majority of users.
3. Turn Off Unnecessary Picture Features
Your TV most likely has a number of settings that allow it to adjust the visual settings on the fly to best fit whatever you’re watching. They have a purpose, but they are the bane of calibration. Make sure the test patterns you’re looking at have stable settings and that the TV isn’t changing them while you’re working. Look for any submenu that says “Advanced Picture,” “Expert Picture,” or “Picture Options” in your TV’s picture settings menu.
Disable any feature that includes the terms “adaptive,” “dynamic,” “motion,” “processing,” or “smoothing” in its name. If Overscan is an option, make sure it’s turned off while you’re there (this will help in the next step). Disabling any motion-enhancing elements, incidentally, will decrease the jarring soap opera impression that many people despise. Motion improvements have their place, particularly in live sports and video games, but most movies and TV shows are considerably more enjoyable to watch without them. Our refresh rate guide delves deeper into what these modes accomplish and if your TV’s refresh rate is 60, 120, or 240Hz.
4. Check Picture Geometry
Whatever other settings you tweak, your TV will appear best if it’s set to show whatever you’re watching in the proper aspect ratio. If you’re switching between HD and SD channels on your cable box, this can be an issue, but otherwise you should be able to set everything up to display visuals at their natural quality. Look for an aspect ratio, picture size, or zoom button on your remote or a setting in your picture menu. Make sure Normal or Just Scan is selected. Don’t pick anything with the words “wide,” “zoom,” “3:4, or “16:9” in the title.
The Spears-Munsil disc may be used to ensure that the image geometry is proper. Select Setup and then Framing from the Advanced Video menu. The borders of various resolutions will be displayed in a test pattern. The white arrows pointing at the 1920 x 1080 lines will touch the edge of the screen if you’re using a normal Blu-ray disc (this will also apply if you’re using a 4K TV; your player will upscale the picture). The arrows pointing at the 3840 x 2160 lines will touch the screen’s edge if you’re using the Ultra HD Blu-ray disc.
5. Adjust the Contrast
Here’s when the Spears & Munsil disc comes in handy. The PLUGE test charts on the DVD will be used to alter the brightness and contrast settings. Select Video TV Calibration and then Contrast from the disc’s main menu. Make sure the numbered bars below 238 are distinct shades of grey and the numbered bars above 238 are white on your television’s contrast setting. At the top and bottom of the screen, the grey boxes enclosing the 10 coloured squares should be visible, and the gradient in the middle should seamlessly transition from a white band in the centre to black on the edges.

6. Change the brightness
The brightness option on your TV actually changes the dark level, which may seem illogical. To access the brightness test pattern, press right on your remote. Lower your TV’s brightness so all four grey bars in the centre are visible, then gradually turn it down until just the two right bars are visible and the two left bars have faded into the background.
7. Keep Track of Your Preferences
If you performed these steps correctly, your TV should now be as TV Calibration as it can be without the use of expert equipment. Ignore the directions in the Video Calibration menu for altering colour or sharpness; the great majority of TVs sold in the last few years have those settings figured out as defaults that function very well, and changing them can result in visual defects. You may confirm your results by glancing at some of the video clips under the Demonstration Materials section. They should have a lot of detail in both light and shade, with distinct fine textures.
Natural colours, not gaudy or dyed blue or pink, should be used. Make a note of the picture mode, colour temperature mode, and any features you turned off, as well as the brightness and contrast settings. If you make any modifications in the future, you may use your notes to return the TV to its original settings and rectify any problems with the picture.
You want to make sure you’re providing your TV Calibration with the highest-quality signal possible now that it’s correctly tuned. Check out our HDMI cable guide to learn what the different kinds mean, what brands are available, and how much you should pay to get the best performance.