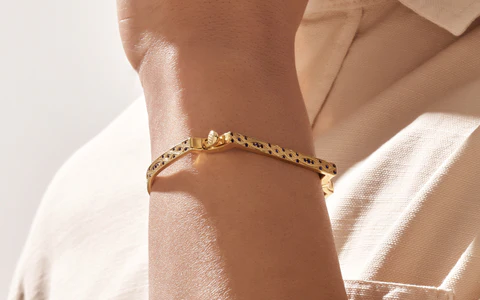
Cleaning Gold Bracelets for Women at Home: Step-by-Step. To maintain its shiny look and strong structure over time, gold jewelry requires specific care. Gold bands for women in Australia have to deal with special weather problems, such as changes in humidity, exposure to salt air along the coast, and everyday dirt and grime that can dull their shine. Professional jewelers say that cleaning jewelry at home on a daily basis is an important part of preventative care, especially for pieces that are worn a lot. This all-around method not only keeps things looking appealing, but it also keeps oils, lotions, and other environmental debris from building up and doing long-term damage to delicate settings and detailed designs.
Understanding Gold Purity and Composition
Different types of gold react differently to different cleaning methods. Understanding the composition of your bracelet is crucial. Most bands for women are made of 14k or 18k gold, which is gold that has been mixed with other metals like copper, silver, or platinum to make it last longer. After years of taking better care of jewelry, I know that 24k gold pieces need a softer touch because they are more likely to get scratched.
The combination of metals in your bracelet actually decides how different cleaning products will clean it. If harsh chemicals come in contact with copper, it can change color slightly. On the other hand, nickel components in the bracelet may react unpredictably to certain cleaning products. Of course, I always check the signature before I start cleaning.
Essential Cleaning Supplies and Preparation
There are probably most of the cleaning tools you need in your kitchen right now. For excellent gold cleaning, you need warm water, light dish soap, and a toothbrush with soft bristles. I have a jewelry cleaning kit with cotton swabs, microfiber cloths, and a small bowl that I only use for this task.
Avoid using an ultrasonic cleaner at home if you’re unsure about the craftsmanship of your bracelet. The movements actually made the settings looser, which is what I did once with an old piece that had loose stones. Professional makers use these tools because they know what each piece can and can’t do structurally.
The Gentle Soaking Method
First, mix warm water with a few drops of light dish soap in a small bowl. Hot water can actually damage certain jewel settings or cause metal to expand, which may harm the mechanisms in charm bracelets or bands that have moving parts. The temperature is more important than you might think.
Soak your bracelet for ten minutes. This gentle method allows the buildup of oils and dirt to break down without the need for rough washing, which could damage the surface. I usually use this time to get my other cleaning tools ready and look over the piece for damage or parts that are coming loose.
Detailed Cleaning Technique Applications
Carefully clean the areas around chain links, settings, and artistic elements that tend to get dirty with a toothbrush that has soft bristles. Pay close attention to the spots on your skin where the bracelet frequently comes into contact with it; these areas tend to absorb more oils and need more care.
Cotton swabs are better than brushes for surfaces with many small details or rough spots. Instead of pressing down on the swab, I’ve found that rolling it around works better for cleaning without using too much force. This technique has kept a number of delicate pieces from wearing out needlessly over the years.
Drying and Final Polishing Steps
Drying something completely stops water spots and the possible rusting of metal parts. Instead of rubbing the bracelet dry, pat it dry with a lint-free cloth. Rubbing can leave tiny scratches on smooth surfaces. Let it dry in the air for at least thirty minutes before putting it on.
Final polishing with a jewelry cloth brings back the shine. Avoid over-polishing, which can actually take off the thin gold finish on some pieces, and instead use light, circular motions. The final appearance of the jewelry is significantly transformed after this step; it is at this point that you can truly appreciate the difference resulting from all your hard work in cleaning.


