The CAB file, often known as the cabinet file, is typically a single.cab file. These files are used to organize the installation files to be co-ed to the user’s system and contain several compressed files as a file library. A single compressed file can be distributed across many CAB files. This tutorial will teach us how to install a CAB file in Windows 11.
Developers frequently use these cabinet files to create program installers, and Microsoft occasionally utilizes them to deploy stand-alone Windows updates. The DISM command-line tool can also be used to install a CAB file in Windows 11.
What is CAB File?
Well, A CAB File is a Windows Cabinet File stored in the Microsoft Windows archive format. The CAB format is compatible. Data compression methods include ZIP, Quantum, and LZX. CAB files are used for Windows programs installs, such as system files, network components, and device drivers, and contain compressed data.
Installing the CAB File in Windows 11
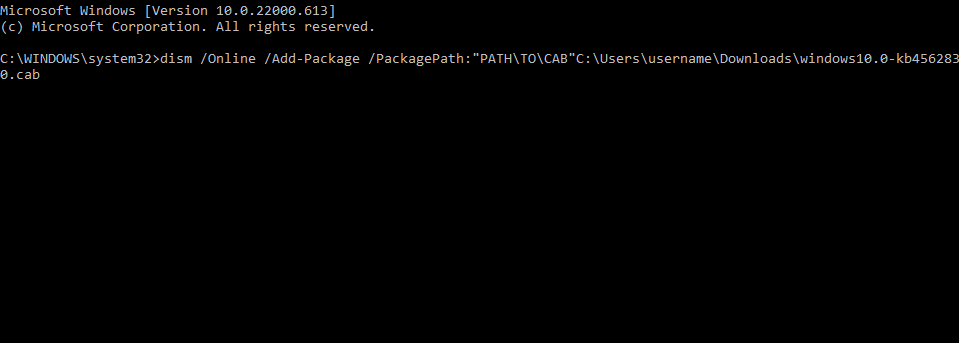
Here’s how to use Command Prompt to install the a.cab file:
1. Select Run as Administrator from the Start menu after searching for Command Prompt.
2. To install the .cab file, type the following command and press enter.
/Online /Add-Package /PackagePath:”PATHTOCAB” dism /Online /Add-Package

3. The package will be installed on your device once you’ve finished. It is recommended that you restart your computer if it is an update.
Final Words:
This was the procedure for installing CAB files on Windows 11. We hope the methods outlined above were of use to you. If you continue to find problems, then please leave a remark below.