


Did you recently receive a rent agreement in a Word document or an NDA (non-disclosure agreement) to sign? You can publish it out, sign the document using a pen, and scan it with a printer to send it back. It takes too much time and doesn’t get things done, though. We know a better way to do it. You can count a digital signature to the document using Microsoft Word on a PC or Mac. How to do it.
Add Signature in Microsoft Word
In Microsoft Word, you can add a signature in three different ways. Let’s talk about all of them.
1. Use the Drawing Tool
You can draw on a Microsoft Word document with the built-in drawing tool. You can add a digital signature anywhere in a Word document by drawing it with the drawing tool. To do that, follow these steps:
1. To sign a document, open it in Microsoft Word.
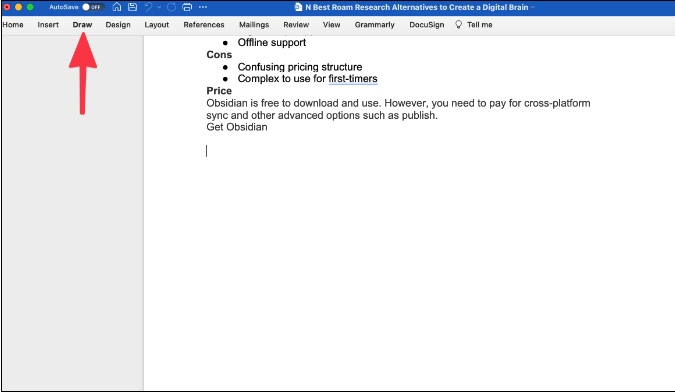
2. From the menu bar above, choose Draw.

3. When signing a document, choose the Pen tool.
4. You can also click the little down arrow next to the pen to change the pointer’s width color and even add sparkling effects (which don’t matter here).
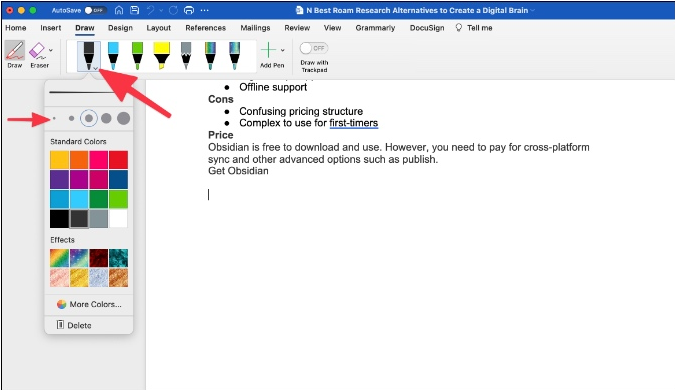

5. Use a smaller pen and a black, green, or red color to fix things.
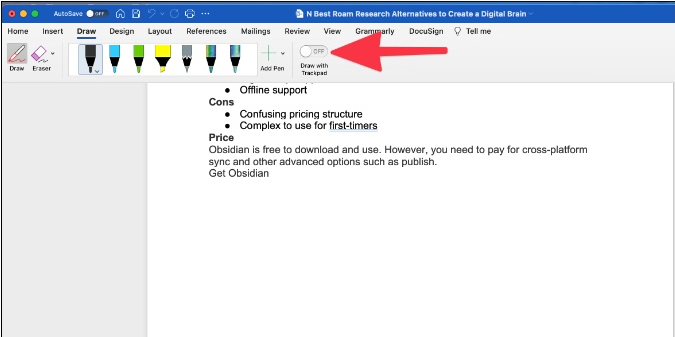
Using the trackpad, we will sign this document. Doing the same thing with a mouse won’t get the desired results. Turn on the setting for Draw with Trackpad.

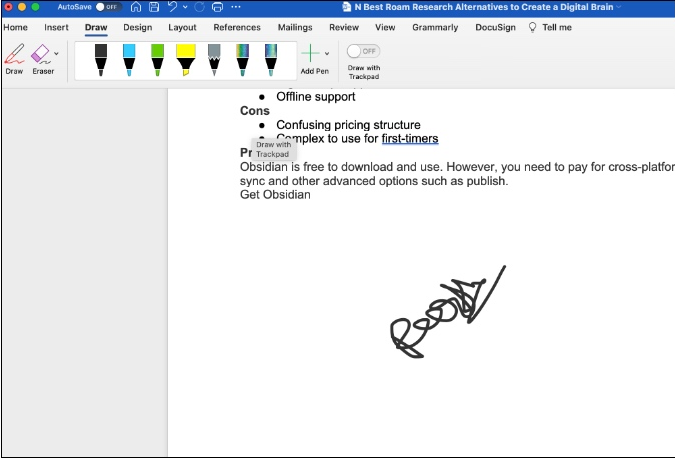
6. A small text box will open. To add a signature, use one finger. By moving two fingers, you can change the spot. Finally, press any key to end the trial.

If you want a skilled result, the drawing tool won’t give it to you. You must use an add-on with the program to sign a document in Microsoft Word.
2. Use Third-Party Add-ons
Signing a Word document with third-party add-ons like Adobe Sign, DocuSign, and Panda Sign is easy. This is one of the most well-known services for signing papers. We are going to learn how to use it in Word.
1. To sign a document, open it in Microsoft Word.
2. Go to Insert > Get Add-ins in Microsoft Word.
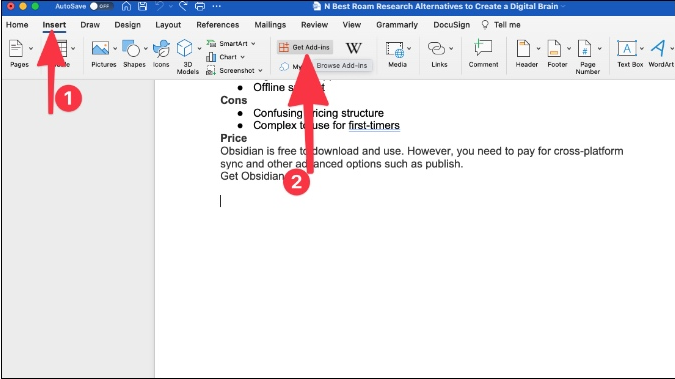

3. Third, it will open the Add-ins store in Word. In Microsoft Word, look for DocuSign and add the add-in.
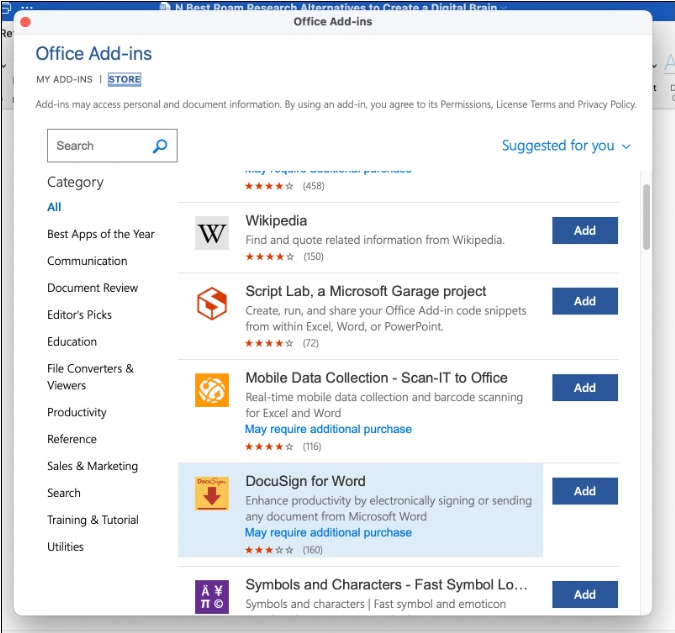

4. Choose the Add-in and make an account on DocuSign.
5. Choose DocuSign from the menu bar whenever you need to sign a document.
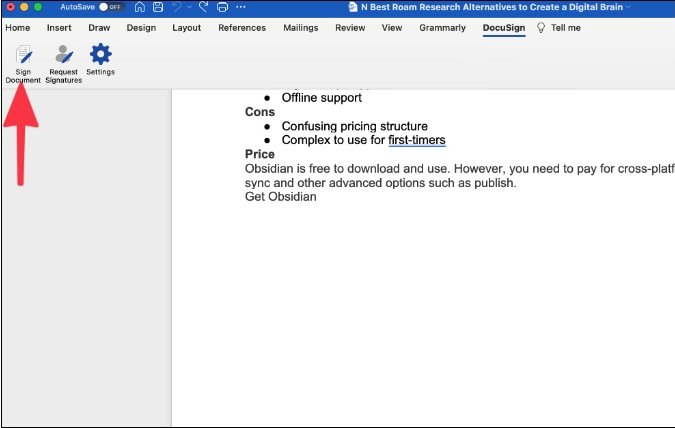

6. Click on Sign Document. DocuSign will then upload the file to the cloud and open the sign-a-document screen.
You can sign papers here and add your name, a stamp, text, a check box, and even information about your business.
You can use the same signature on all services using a third-party add-on. We say “all services” because DocuSign is a mini-app that can be used in Google Docs, Microsoft Word, Zoom, and even Microsoft Teams.
It lets you sign a document without leaving the current screen.
3. Add Image Signature
It’s time to insert your signature into the Word document if you saved it on your computer as a PNG or JPG file with a white background.
1. Open and sign the Word document.
2. Go to Insert > Picture > Picture from File to add a picture.
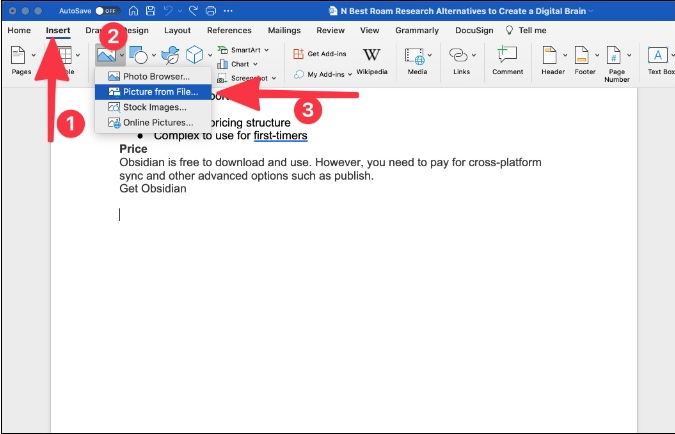

3. choose the image from the device and insert it into the Word file.
4. Make the image the right size and put it in the right place in the file.
This is only a short-term fix, though. What if the background of the document is a different color? Then, the image signature with a white background looks silly and out of place. You need to get rid of that ugly background to make things look better.
Wrapping Up: Sign Word Documents on the Go
If you want to quickly and easily add a signature to a Word document, the above tips will keep you a lot of time. Using third-party add-ins is our preferred way. You can choose the drawing tool if you use the trackpad to add a signature.